AnswerNet VPN Install Guide
1) Download the Answernet OpenVPN installer
For Windows XP/Vista/Windows 7.
For Other OS's.
If you have the old Answernet VPN client installed it is recommended that you uninstall it. Reboot and delete the old OpenVPN folder from both "C:\Program files\" and "C:\Program files <x86>\" before attempting to install the new version.
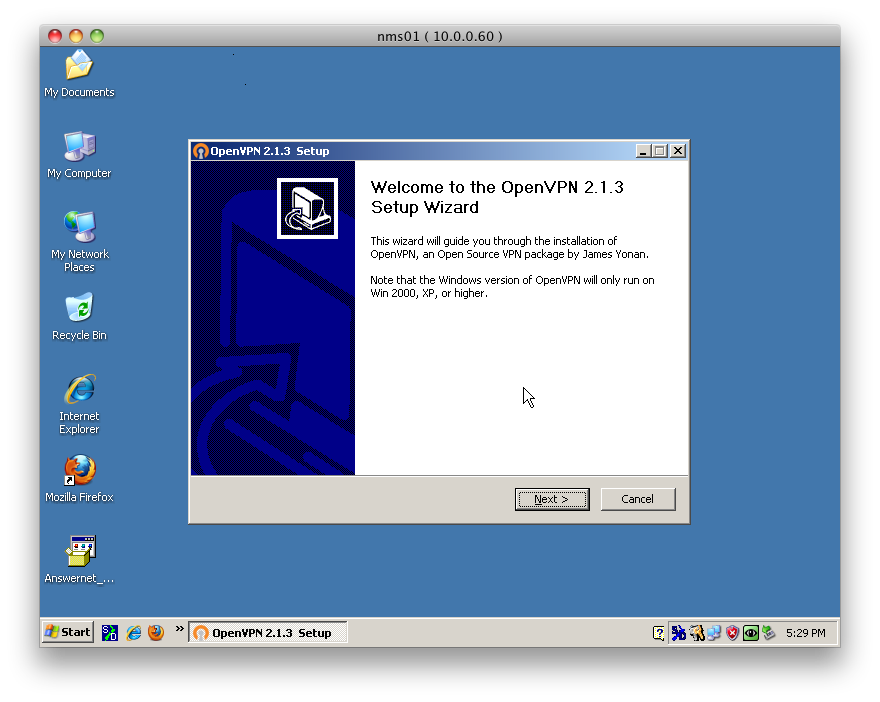
Then Double click to start the installer.
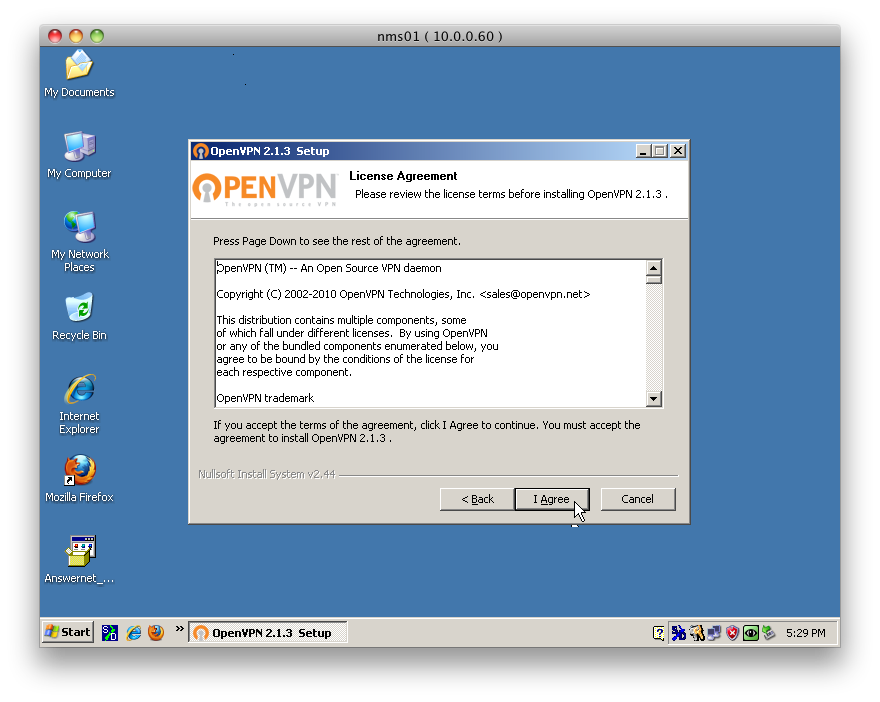
2) Click "I Agree" on the License Agreement.
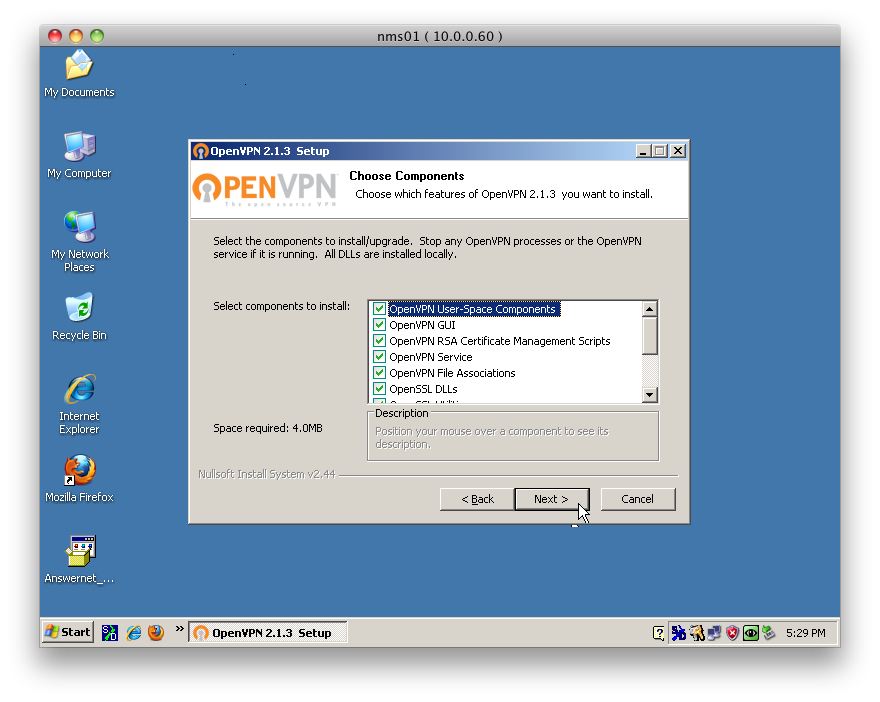
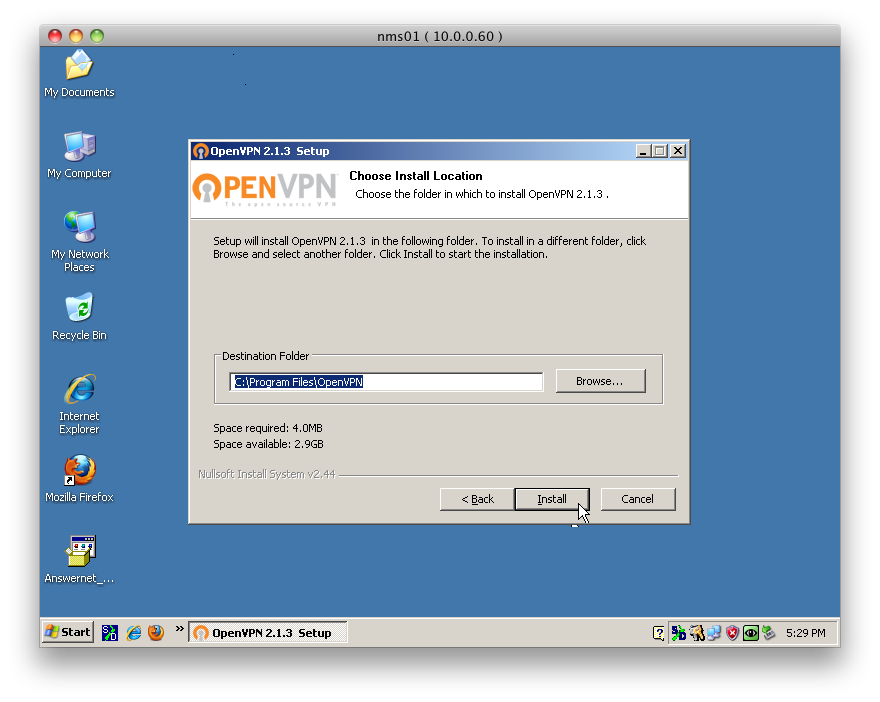
3) Leave the default settings and click "Next".
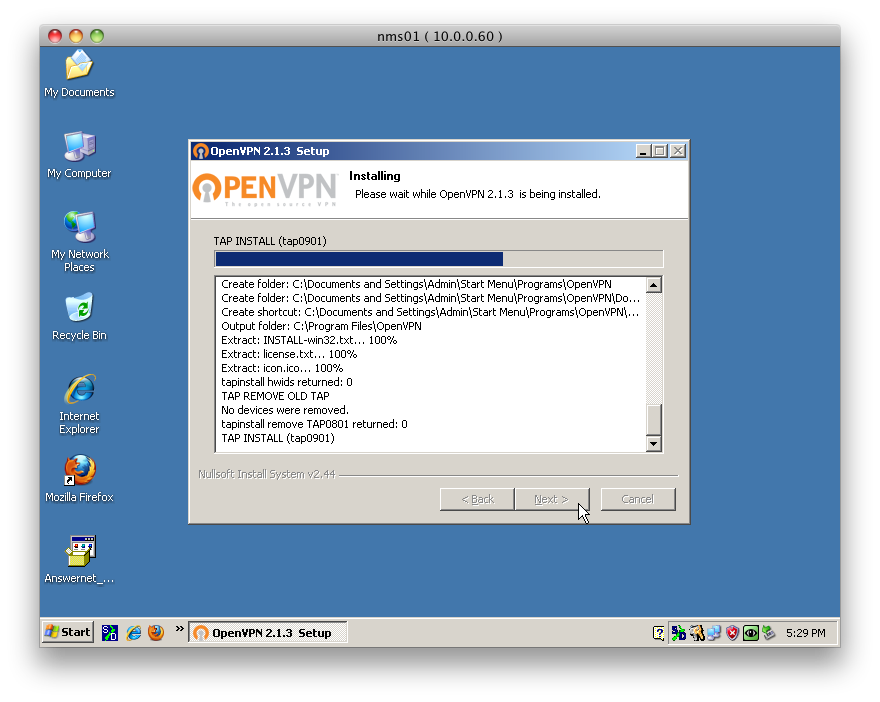
4) Start the Install process.
5) The installer begins.
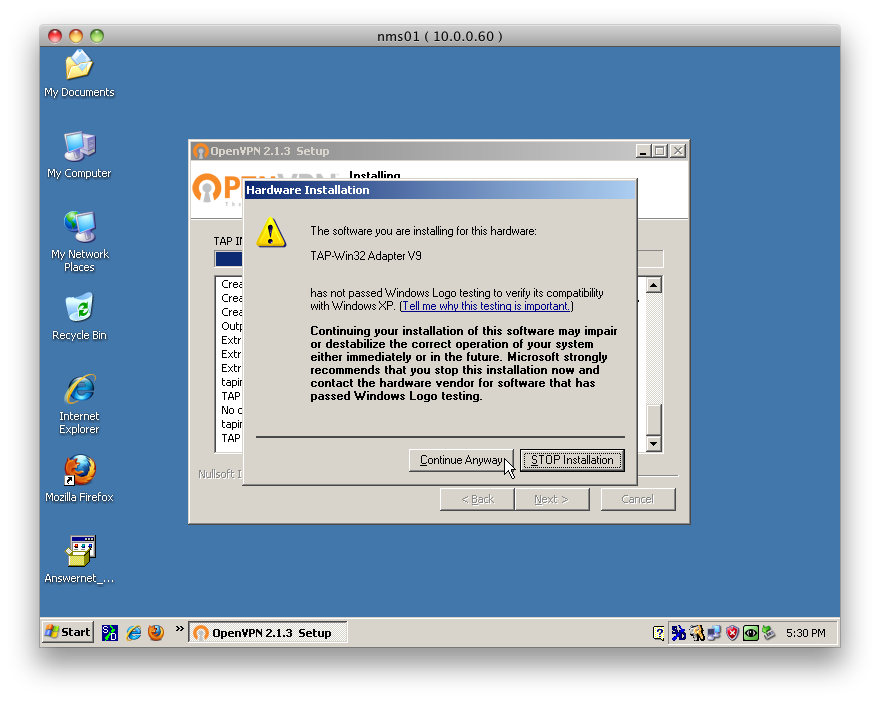
6) When prompted, hit "Continue Anyway" on the Hardware Installation popup box.
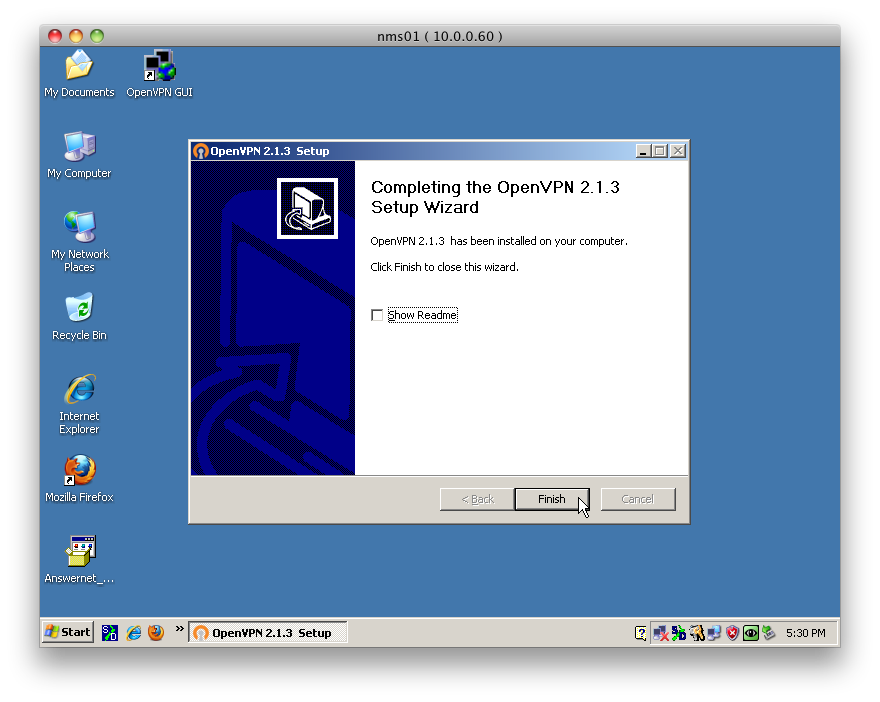
7) The installer should tell you it has completed if there were no errors.
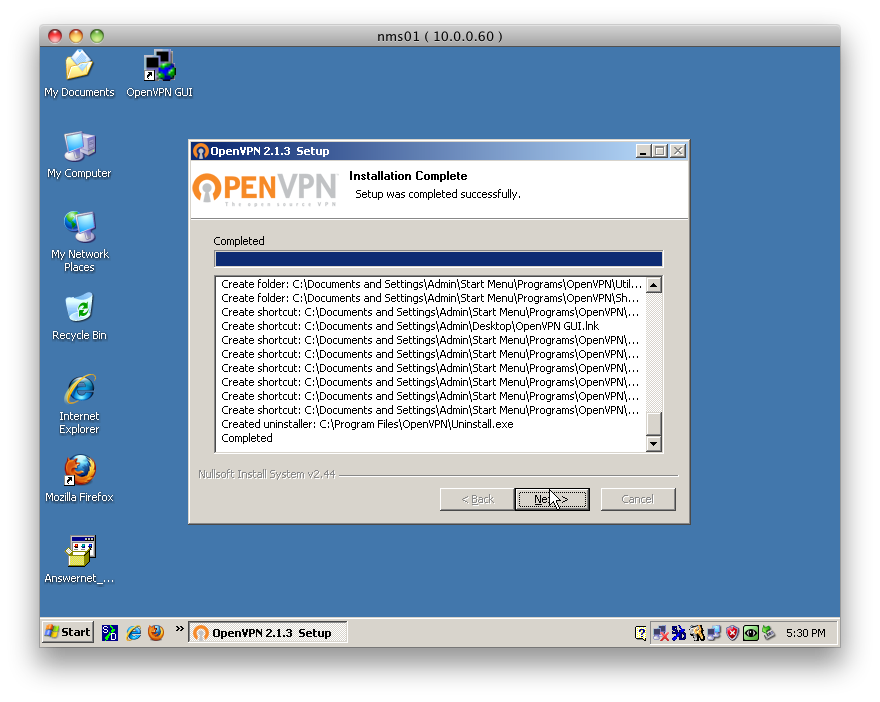
8) Uncheck the "Show Readme" box and click "Finish" to exit the installer.
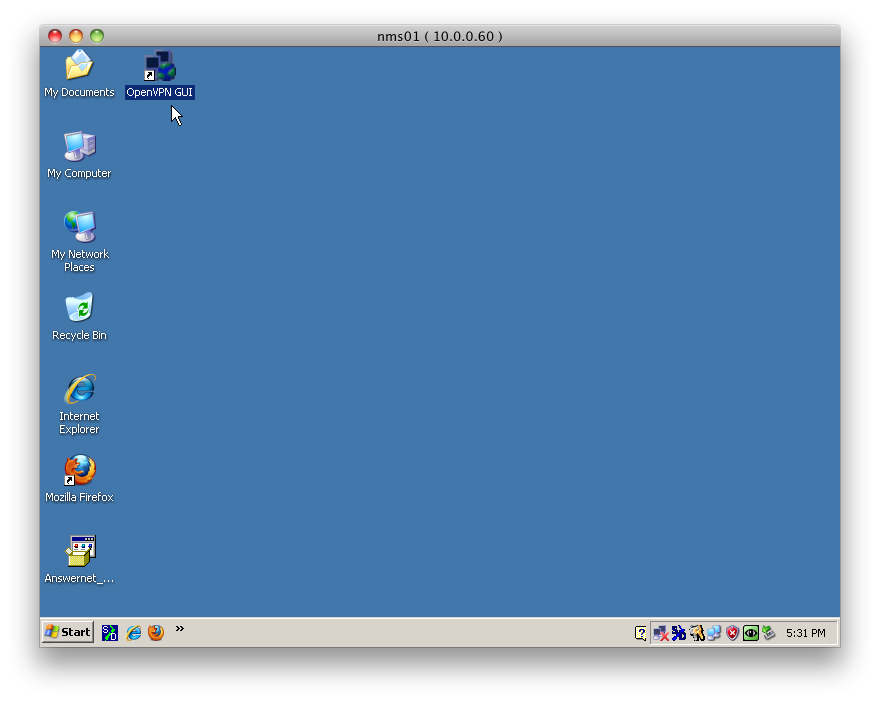
9a) Windows 2000/XP Users: Double click on the "OpenVPN GUI" shortcut that is now on your desktop.
9b) Windows Vista/7/8 Users: Ignore step 9a and click here to continue with alternate instructions.
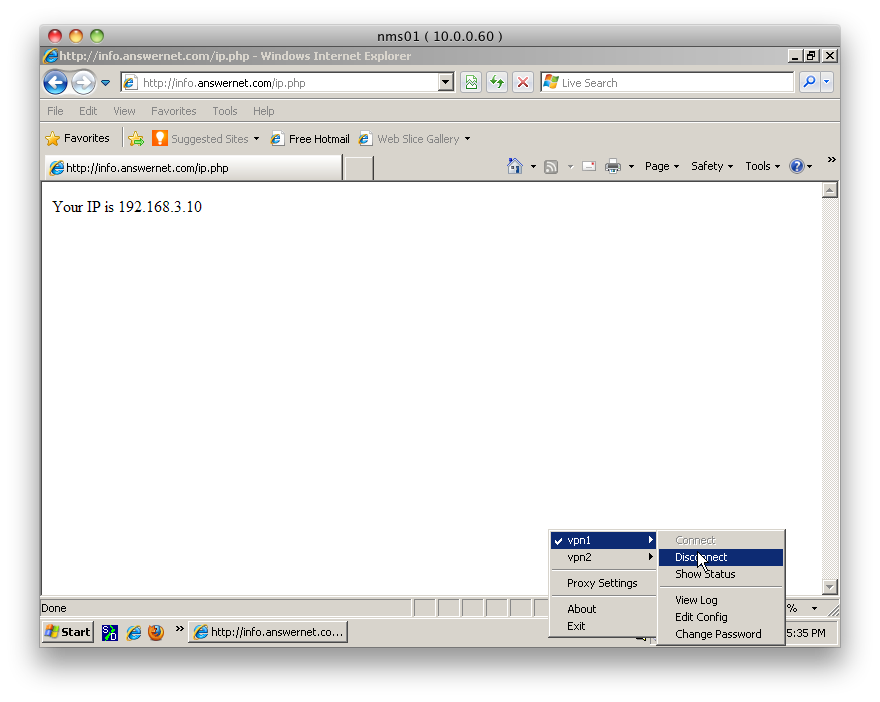
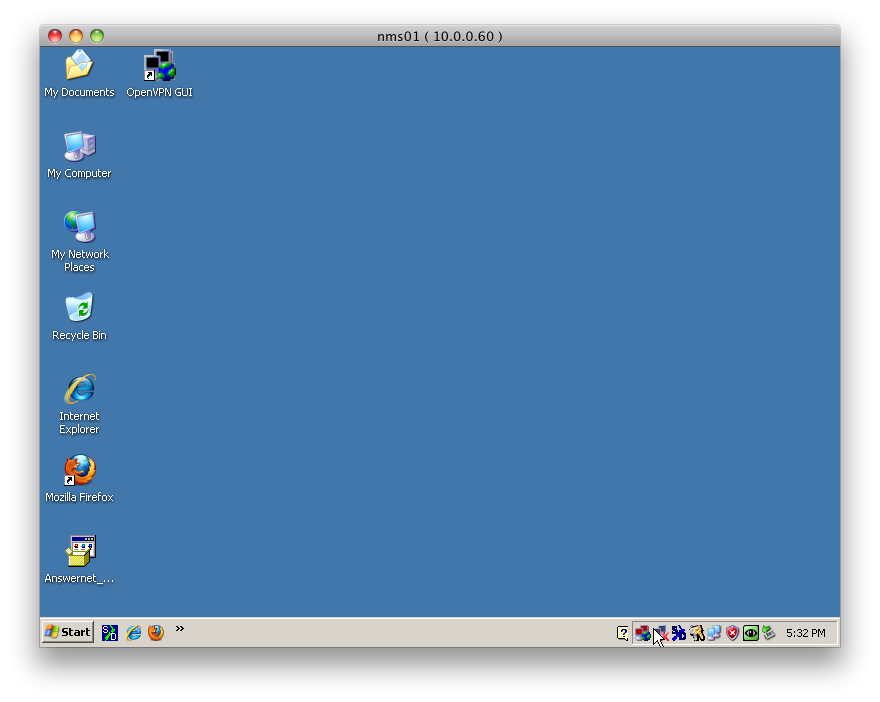
10) Right click the OpenVPN 'Computer and Globe' icon in the task tray.
11) Navigate to "Connect".
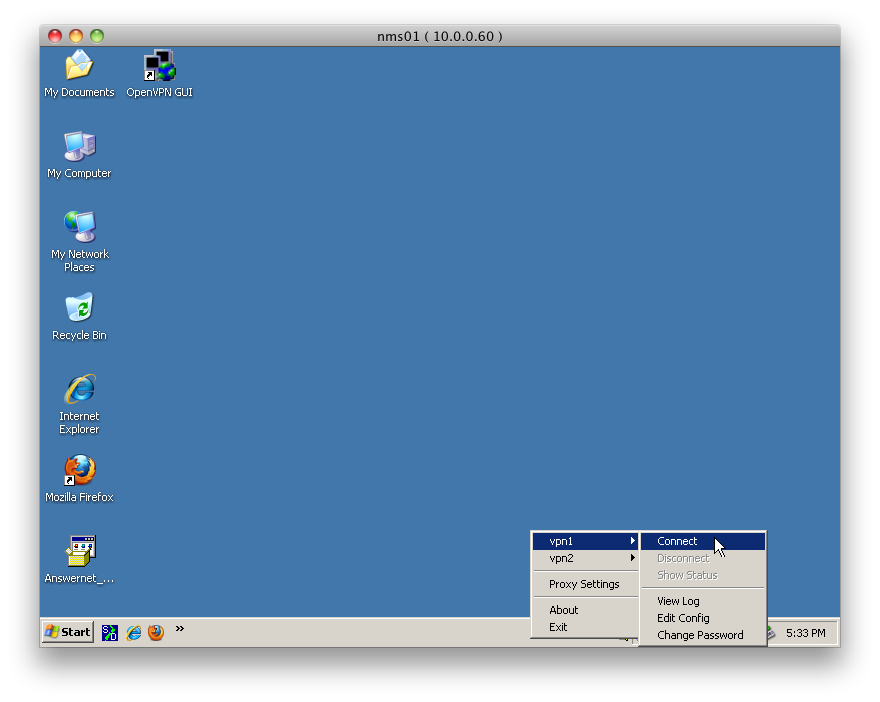
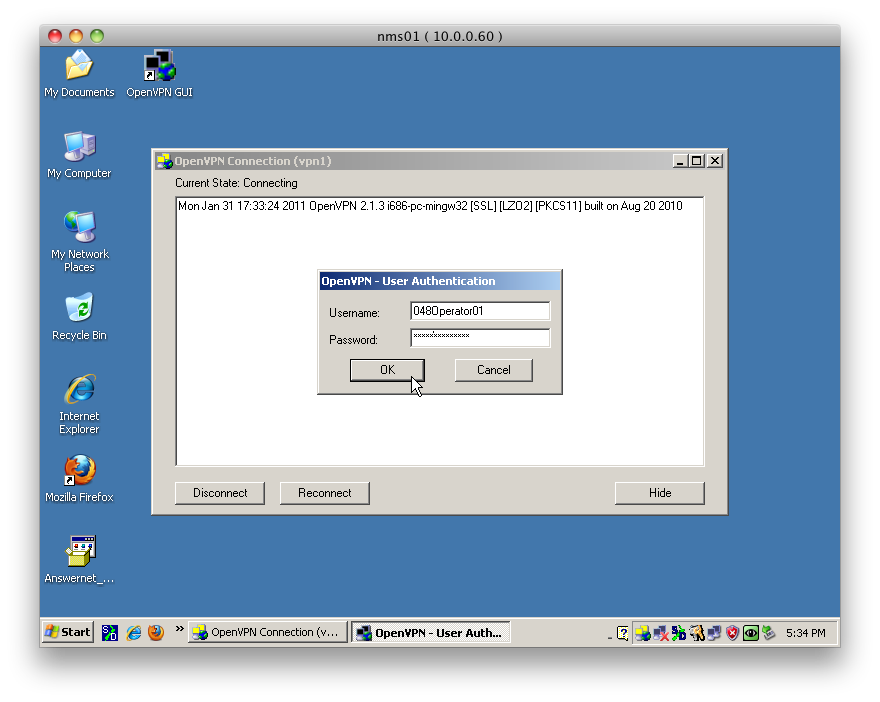
12) When prompted, enter your Active Directory username and password (Tech Services, General Managers, and O+1's only) or your assiged remote operator ID (example: 010RemoteOperator01).
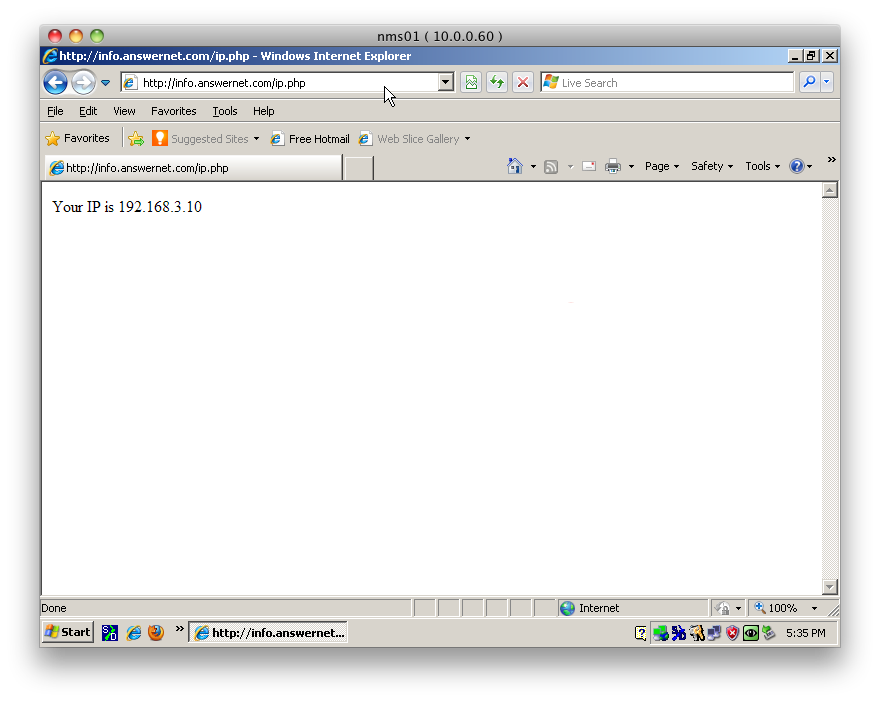
13) Optional: Check your computer's IP address by going to http://info.answernet.com/ip.php. If successfully connected it should should start with 192.168.5.x.
**Note: The OpenVPN icon is red when the VPN is disconnected, yellow when attempting to connect, and green when successfully connected. Once connected you may connect to any internal IP address (192.168.x.x) the same as if you were physically in the office.
*** Windows Vista, 8 and 8 users: Not working? Click here for alternate instructions.
14) To Disconnect: Right click on the OpenVPN icon and choose disconnect when you no longer need to be connected.